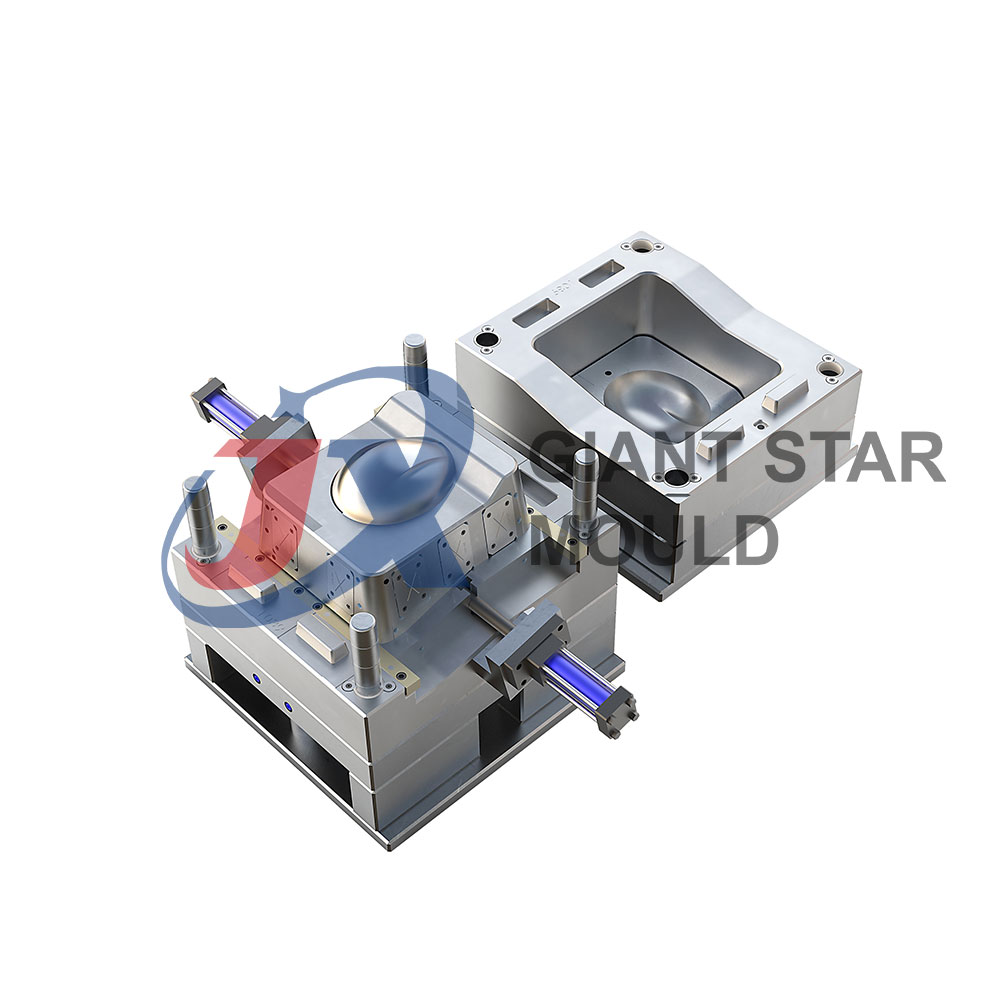
How to design a crate mould
Designing a crate mold involves several steps to ensure the mold meets the requirements for producing durable and functional crates. Here’s a general outline of the process:
1. Define Requirements and Specifications
- Purpose: Understand the purpose of the crate (e.g., transportation, storage).
- Dimensions: Determine the size and shape of the crate.
- Material: Select the appropriate material (e.g., plastic, metal) based on durability and cost considerations.
- Quantity: Estimate the production volume to determine the type of mold (e.g., prototype mold, production mold).
2. Conceptual Design
- Sketch Design: Create initial sketches or use CAD software to develop a basic design of the crate.
- Considerations: Ensure the design includes features such as handles, stacking capability, and any required labels or markings.
3. Detailed Design
- CAD Modeling: Use computer-aided design (CAD) software to create a detailed 3D model of the crate.
- Wall Thickness: Determine appropriate wall thickness for structural integrity and material usage efficiency.
- Draft Angles: Incorporate draft angles to facilitate easy mold release.
- Gate and Runner System: Design the gate (where the molten material enters the mold) and runner system (channels that distribute material to multiple cavities).
4. Mold Flow Analysis
- Simulation: Conduct mold flow analysis using specialized software to predict material flow, cooling times, and potential issues (e.g., air traps, weld lines).
- Optimization: Modify the design based on simulation results to ensure uniform filling and optimal part quality.
5. Tooling Design
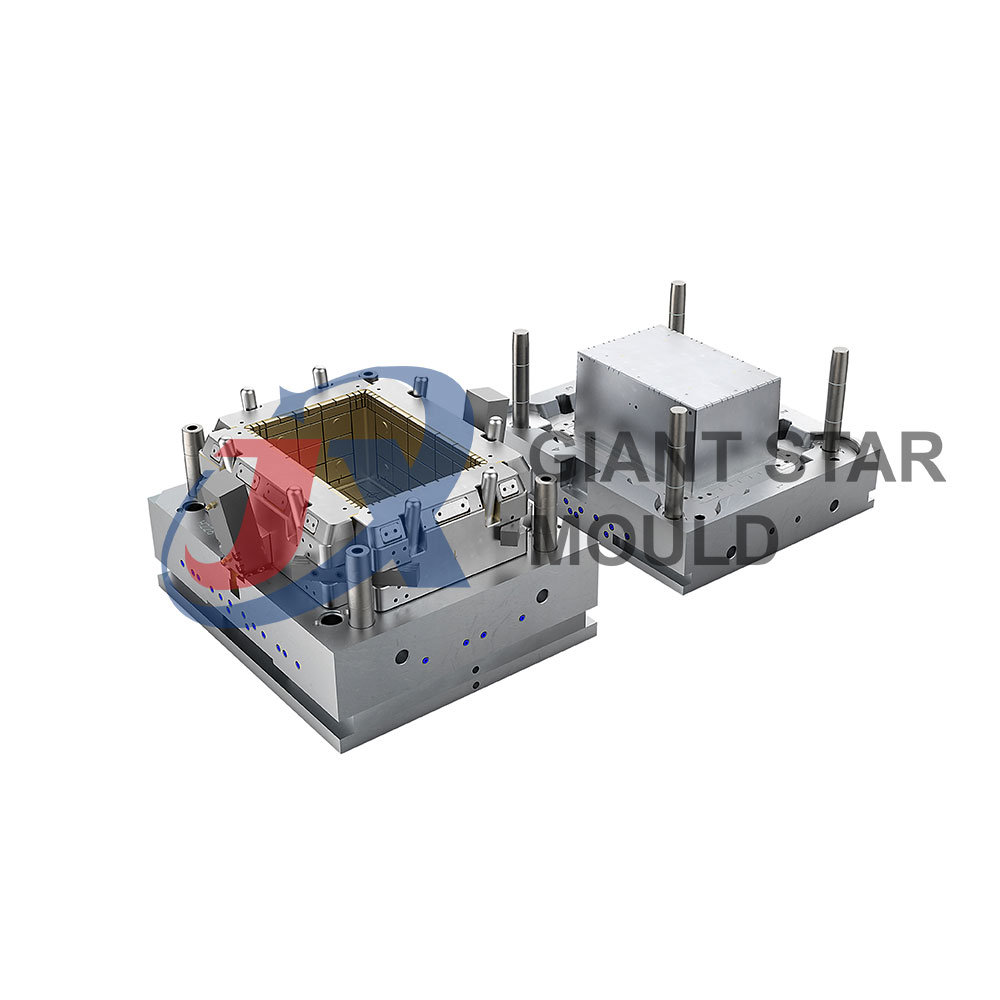
- Core and Cavity: Design the core and cavity of the mold to form the shape of the crate.
- Cooling System: Include a cooling system to regulate mold temperature and ensure proper material solidification.
- Ejection System: Integrate an ejection system (e.g., ejector pins) to remove the crate from the mold after cooling.
6. Manufacturing the Mold
- Machining: Use CNC machining or other manufacturing processes to create the mold components with precision.
- Surface Finish: Apply appropriate surface finishes to the mold to achieve the desired texture on the crate surface.
7. Testing and Validation
- Trial Runs: Conduct trial production runs to test mold functionality and crate quality.
- Adjustments: Make adjustments as necessary based on trial results to optimize part quality and mold performance.
8. Production
- Full Production: Once the mold design is validated, start full-scale production of crates using the finalized mold.
Additional Considerations:
- Maintenance: Plan for regular maintenance of the mold to prolong its lifespan and ensure consistent quality.
- Documentation: Maintain detailed documentation of the mold design and production process for future reference and replication.
Designing a crate mold involves expertise in mold design, materials science, and manufacturing processes. Collaboration with mold makers, engineers, and material suppliers is often necessary to achieve an efficient and cost-effective mold design.

